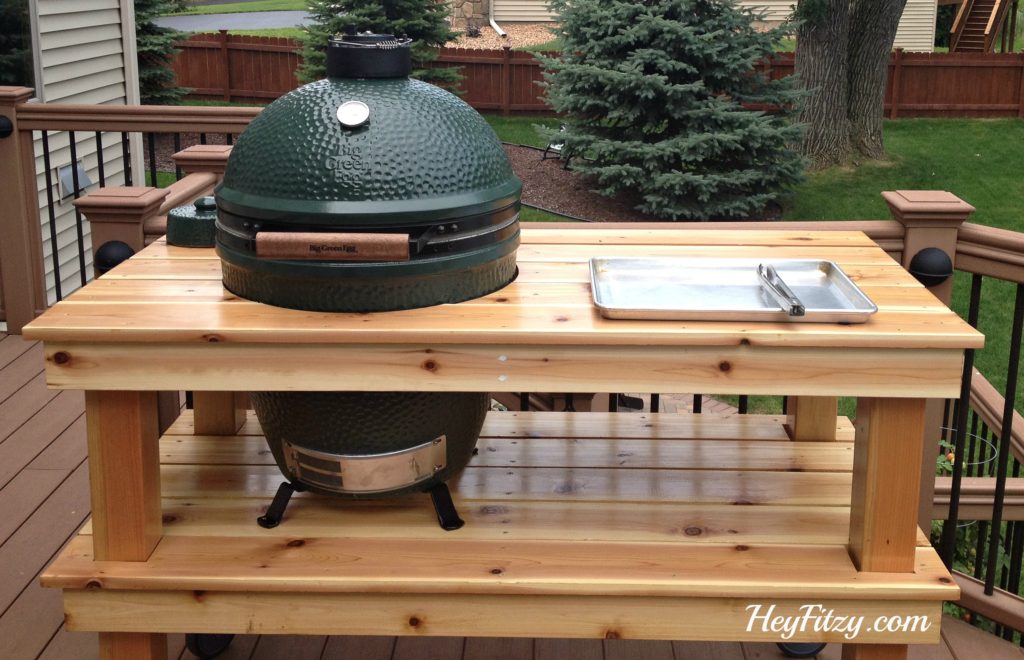
How we built a table for our Big Green Egg
So I am one lucky gal! I know this! Why do you ask? Fitzy loves to cook. Not only is he a handy type of guy…he knows his way around a kitchen and enjoys creating new and tasty dishes. In fact, I believe he has established a bit of a reputation amongst our closest friends for the culinary delights he creates. While there are many reasons I fell in love with Fitzy… his ability (as well as his desire) to cook are among the best. It is a great feeling to have someone that knows their way around a kitchen. If we ever decide to make a change to the kitchen layout and give it a new design (you know what we are like, can’t stop thinking about the next project), maybe we can create some separate areas for his culinary creations? We would have to bring in a renovator and a plumber similar to the plumber in San Marino my friend used for hers, so we could get it all connected together and ready. How fun does that sound? I kind of want to do it now, but I think it is best to stay on track for what I am talking about today!
Fitzy hinted over the years that he might like a Big Green Egg. He heard about The Egg from some coworkers and thought perhaps we should try one. In cooking circles The Big Green Egg is considered legendary. While he normally doesn’t ask for much, I took this subtle hint as a great idea for his upcoming birthday.
As far as I know, for my birthday he intends to give me one of the most beautiful tennis bracelets for women. So, it is my responsibility to plan something on that scale. Boy, was he surprised when he found one in the garage for his birthday. But like all DIYers, I knew immediately we would want to build the table ourselves. How is that for a birthday gift! “Here you go honey…now go build yourself a table” That is how we roll around here, especially after he spent the time reading through this wood router guide to figure out some tips and tricks. 🙂
So let’s get started.
We decided to use sanded cedar for this project.
Materials we purchased:
10 pieces of 1×6 cedar
3 pieces of 2×4 cedar
1 piece of 2×2 cedar
Wood was cut to:
10 pieces of 1×6 were cut to 56 inches
4 pieces of 2×4 were cut to 56 inches
8 pieces of 2×4 were cut to approximately 26 inches
Other materials used:
2 inches screws
clear coat stain
4 -6inch wheels
Table measurements:
56 inches x 28.5 inches
37 inches high
16.5 inches between shelves
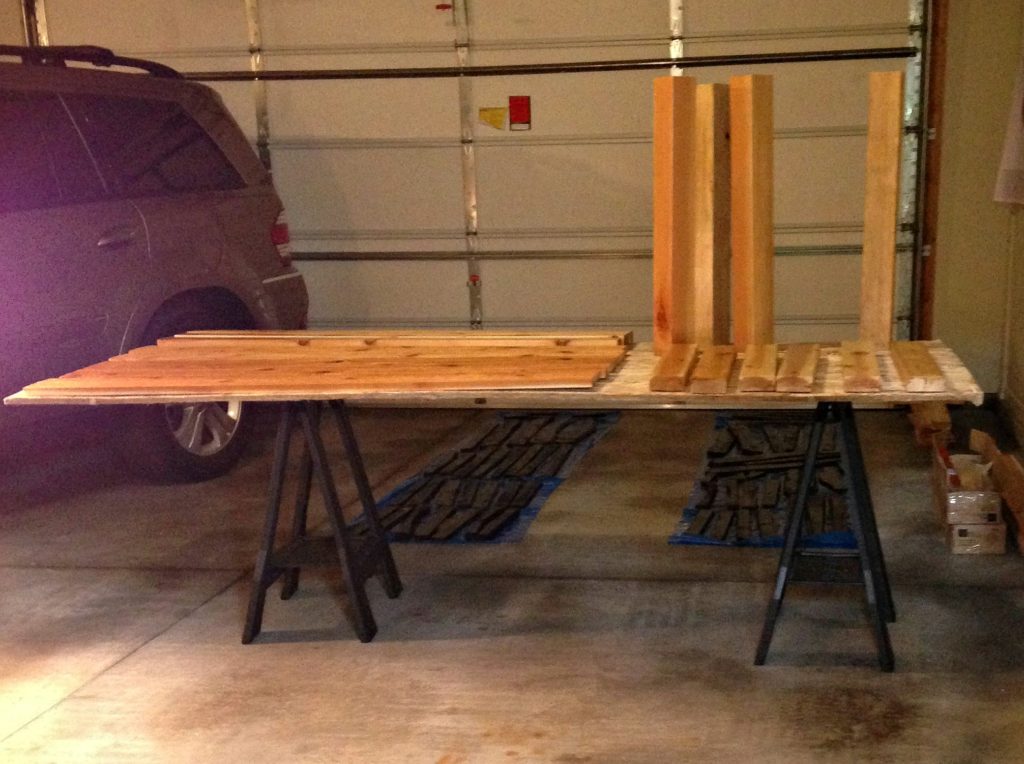
All the pieces were lined up in the garage so we could stain and seal them prior to creating the table.
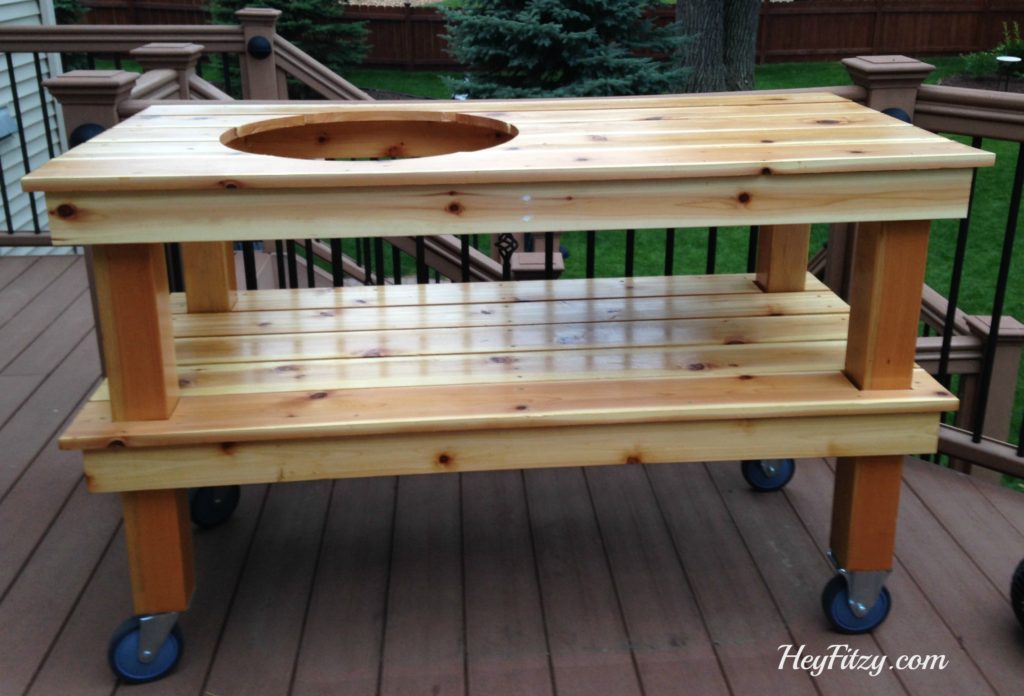
After creating the table Fitzy used a router with the help of the best router lift he could get his hands on, for precision to create the opening for the egg. 2×4 pieces of cedar were used on the under side of each shelf for stabilization.
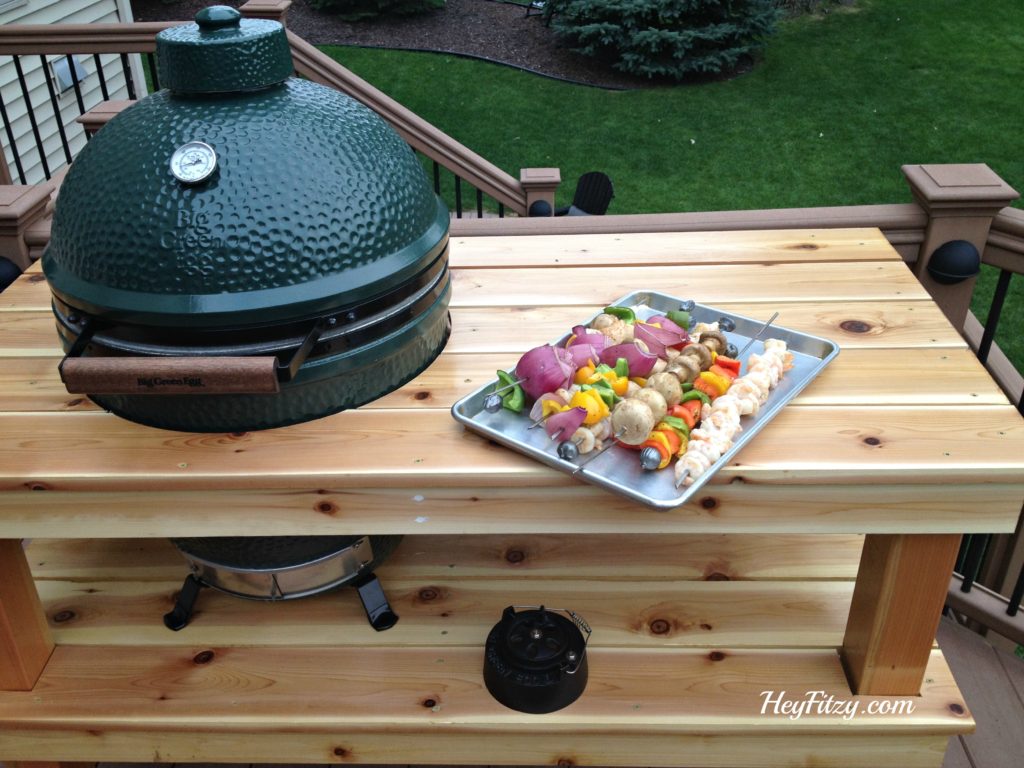
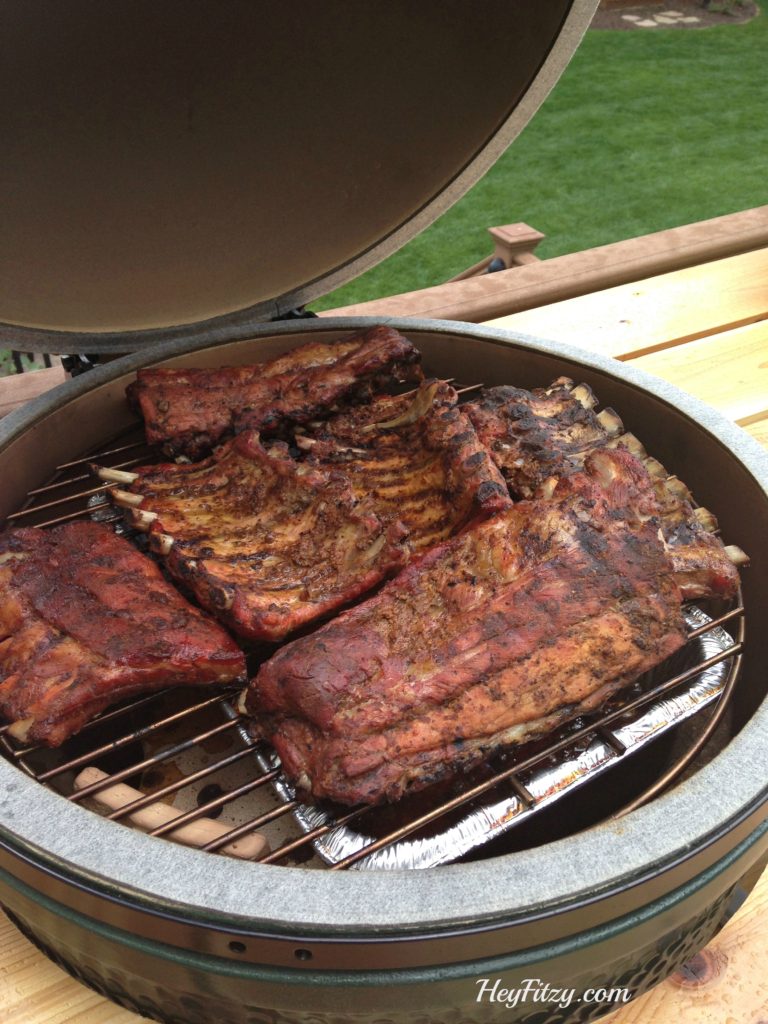
Here is a teaser of some of the yummy meals that we are enjoying with the new EGG.
 This post contains affiliate links for your convenience. Click here to read my full disclosure policy.
