DIY Acorn Garland 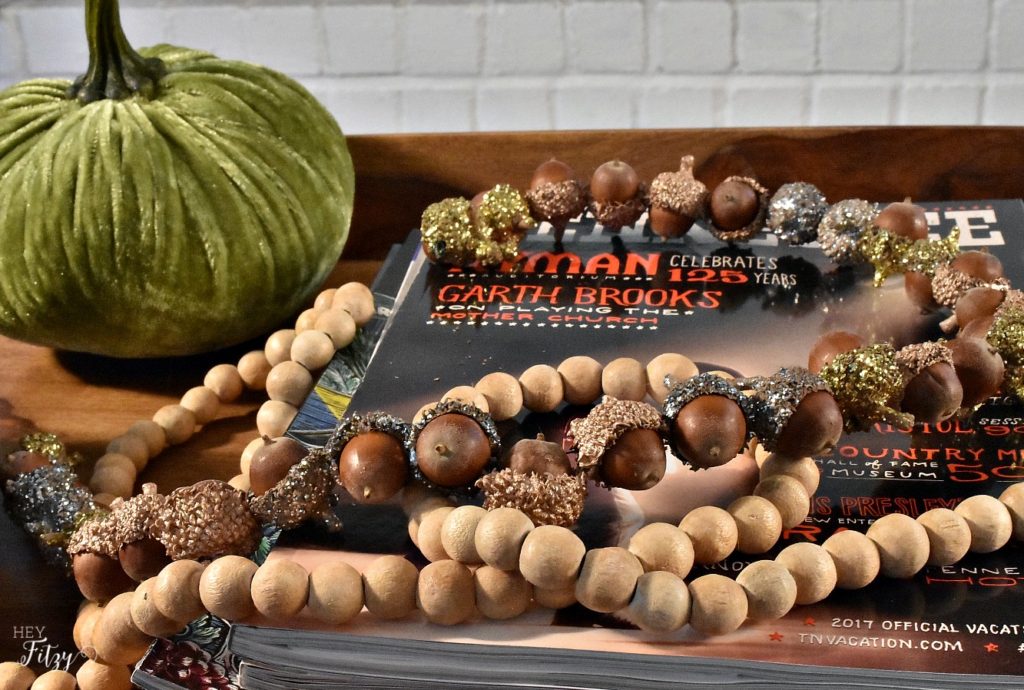
Welcome to our monthly Creative Blog Hop!
This month it’s all about Fall DIY Projects where you’ll find lots of inspiration to keep you DIYing for months!
Meet your hosts
Janine @ Happy Happy Nester
Sarah @ Twelve On Main | Carolann @ Sassy Townhouse Living
Lynn @ Nourish And Nestle | Leanna @ Faeries and Fauna
Today I am linking up with some of my blogging buddies to share fun DIY projects for fall. Having a blog like this and connecting with other fun bloggers is such a brilliant and fun way to turn something from a hobby to a potential career path. I know a few people who looked up “is blogging one of the best Hobbies for women?” so they could see what it could add to their lives, and now look! Anyway, I hope you read my blog and know that something like this takes hard work and dedication but it is worth it in the end. So, are you ready for some inspiration?
You guys know that I love DIY! That’s why I’m excited to be sharing all my favorite DIY ideas with you this month! Today’s project is so easy that even novice DIYers can give it a go! But just a heads up, there are some bigger projects coming up soon that you will need to go down to your local Lowe’s in order to buy supplies for! Of course, the project will be cheap but uses materials you likely won’t be lying around your home. If you’re going to give it a go then you can use coupons to cut the costs of the materials – why not try here as Raise have a large number of coupons available. Anyway, let’s shift focus back on today’s project and get started!
My DIY acorn garland was inspired by all those fabulous wooden bead garlands that you see in home decor stores these days. They have taken over beautiful homes over the last year so I wanted to create my own version that would be perfect for fall. And they’ll probably go great with some of that sunset framed art featured on websites like Niche Canvas! I can’t wait to see what other decor items I can pair with the garlands. With a little bit of time and a trip to the back yard…this project took off. I created an easy 8 step process that will help you enjoy your own acorn garland in no time.
- Gather Acorns
- Soak in water over night
- Line baking sheet, cook at 250 for 1 hour (let cool)
- Have fun painting (let dry)
- Glue all pieces back together
- Drill hole in each acorn
- String your acorns
- Enjoy!
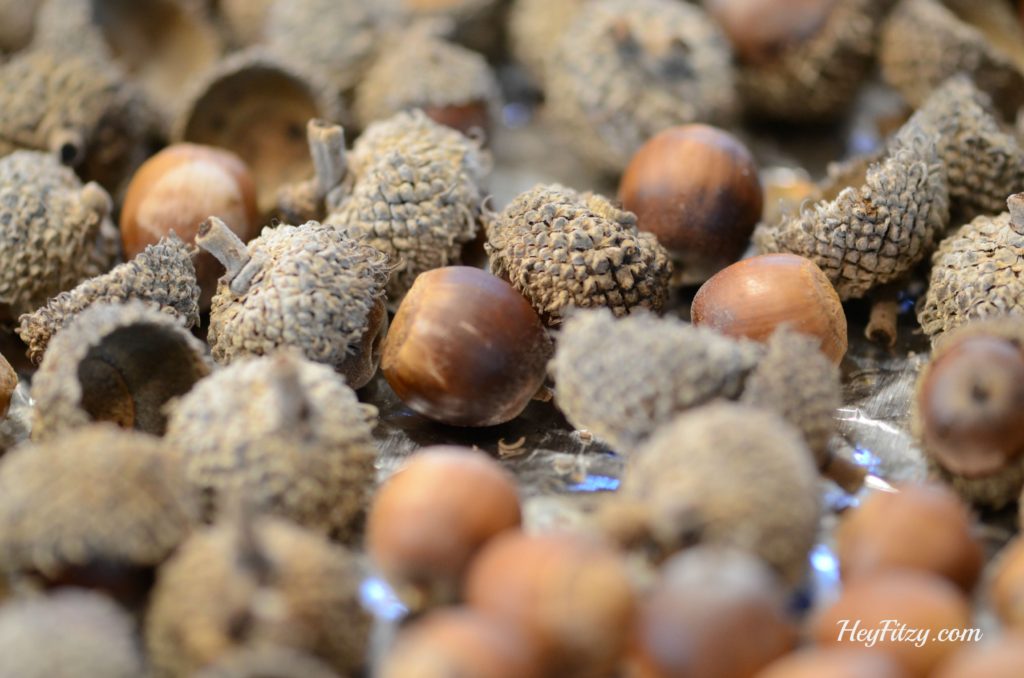
When we lived in Minnesota there was a big ol’tree in the back yard. Year after year I got so frustrated with all the mess each fall. Branches, leaves, and tones of acorns would be scattered all over the ground. You could hardly walk back there without stepping all over acorns. Finally one year I decided to turn lemons into lemonade so to speak. To create a little fun, I took my youngest with me to gather as many acorns as we could find. We made it into a little game and before long our basket was over flowing with acorns. My mission was two fold…to clean up the back yard but also create something fun for my fall decor.
I had so many acorns that I even shared them with friends. Some stayed in their natural state, some were painted, and this year, I wanted to create a fun acorn garland.
Soaking the acorns in water overnight is an important step. This helps ensure the acorns don’t fully dry out and crumble when baking. Why bake them might you ask? Well, with nature often comes little bugs or critters. Baking them is the perfect way to ensure you aren’t bringing any unwanted little guests into your home. Trust me…you don’t want to skip these steps.
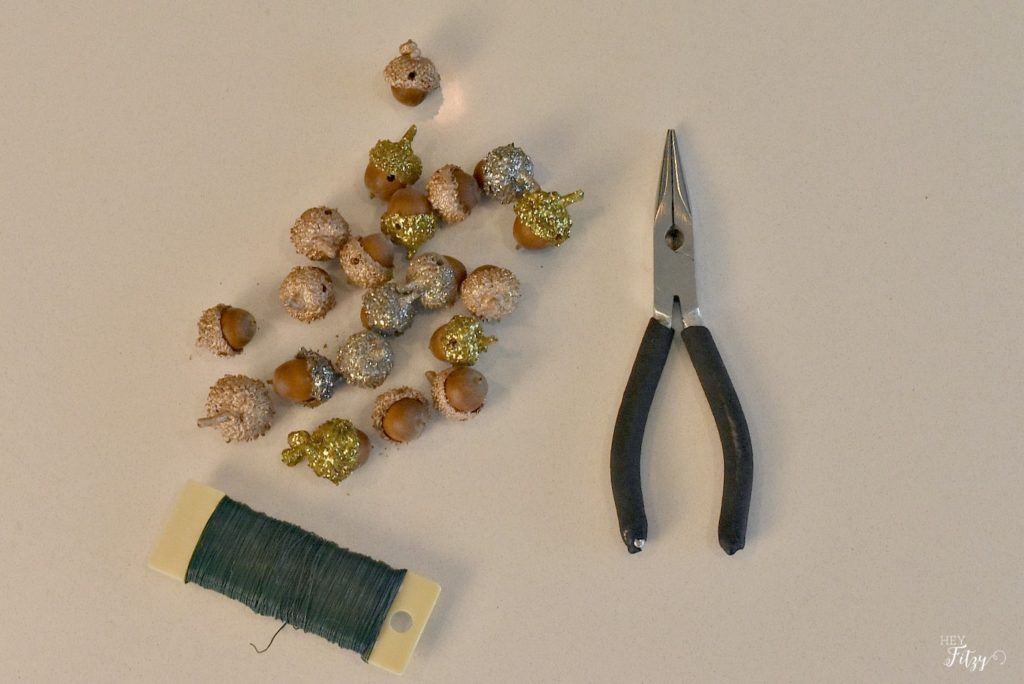
Painting the acorns was an easy part of the project. I selected glittery and neutral tones but you could also do something bright and fun to fit into your decor. Don’t worry if you don’t have all the tops and bottoms together. It is like a little puzzle putting all the pieces back together. I used a little hot glue to put the tops back on each one.
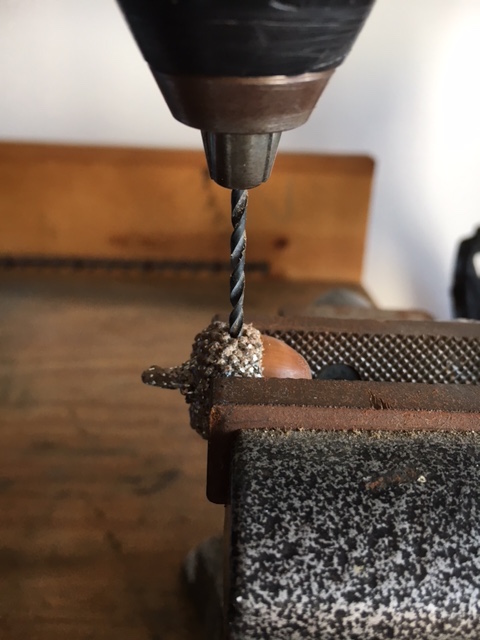
I took the little acorns out to the shop and placed them in the vise one at a time. This approach held them nice and firm while Fitzy used a drill to create a small hole. Probably took us 5 -10 minutes in total.
For the next step I used floral wire and needle nose pliers. I like the idea of using floral wire for 1) ease of threading each acorn and 2) the stiff wire would give my garland some shape if desired.
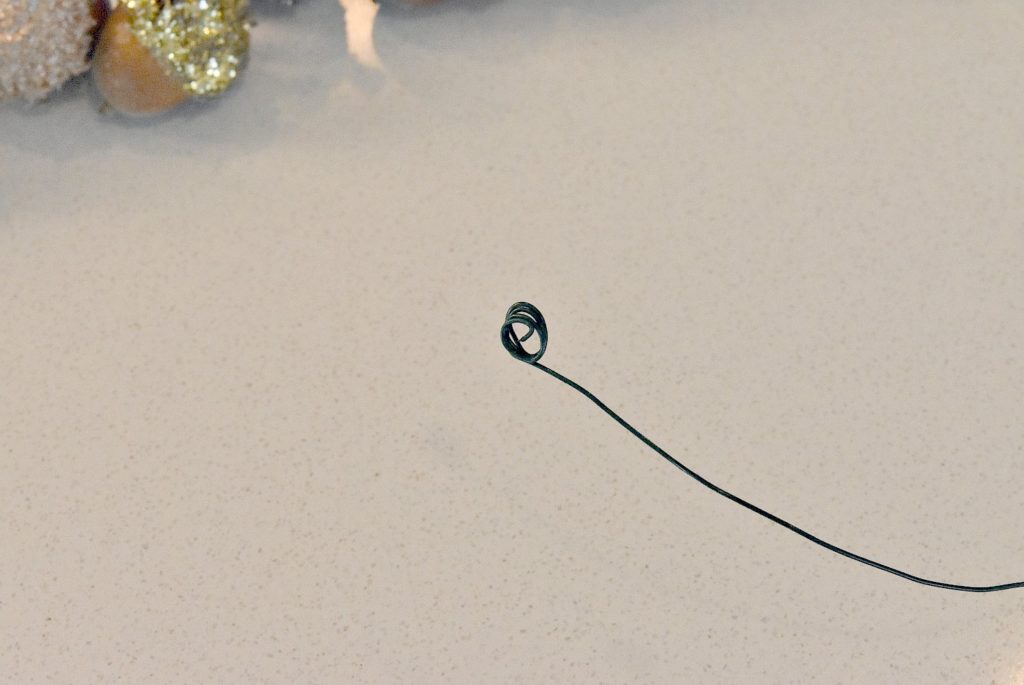
After cutting the wire the desired length, I simply curled the end to create a stopping edge so the acorns would not slide off. You may select your length based on number of acorns you desire. Once all the acorns are placed, you should twist the other end of the wire to ensure the acorns don’t fall off.
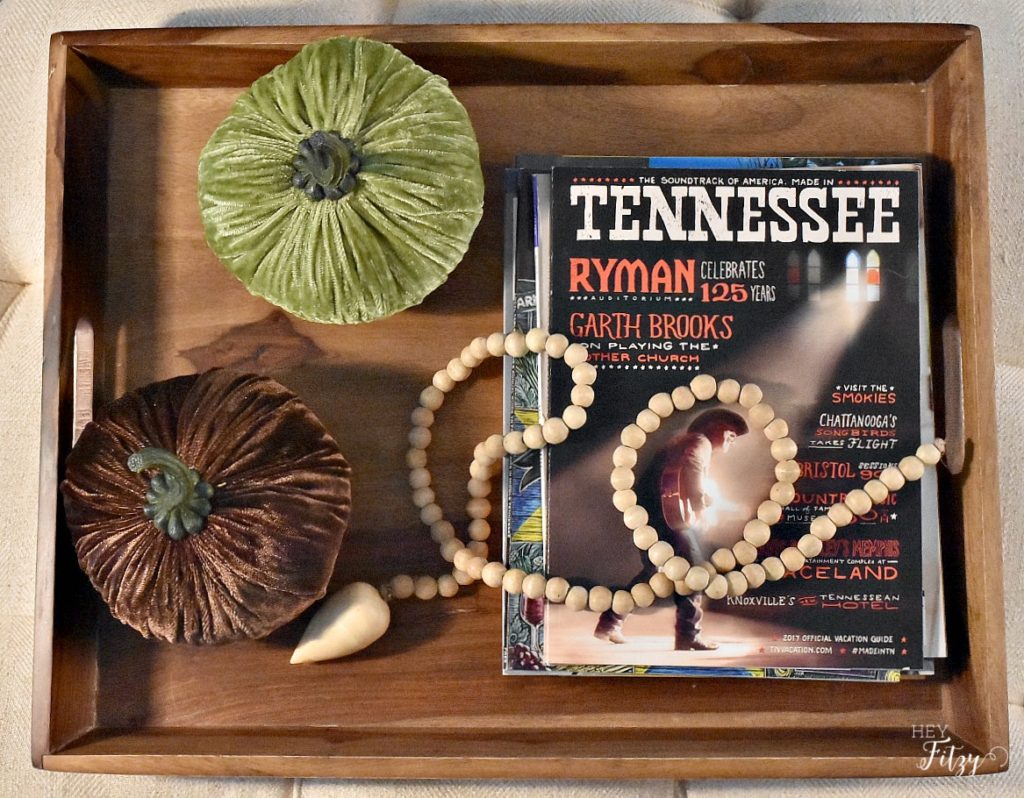
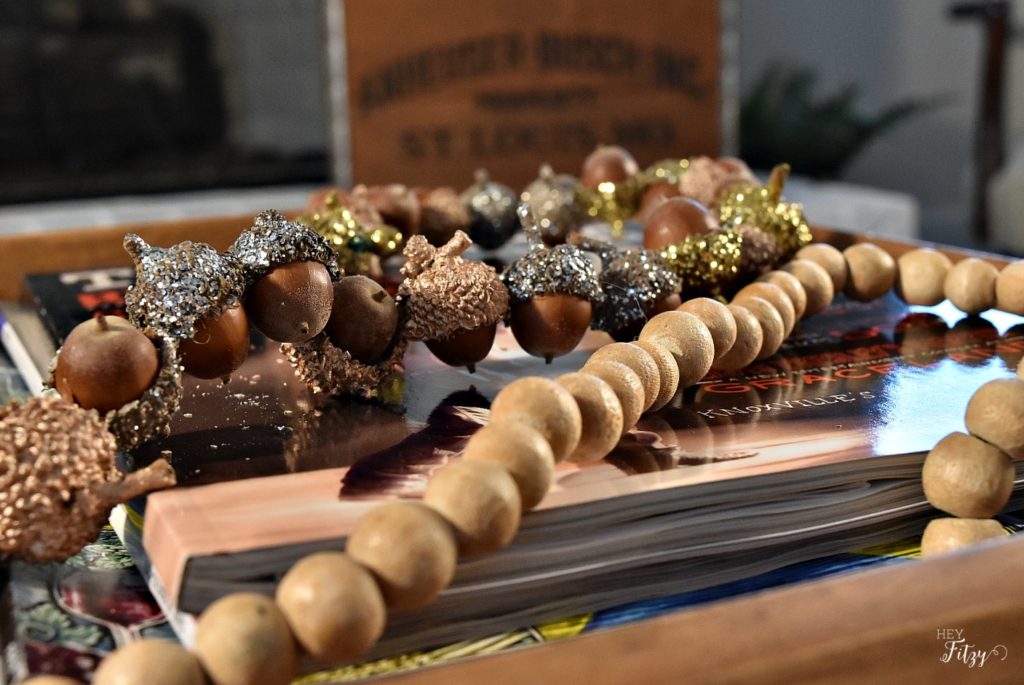
Now you can have fun adding your acorn garland to your fall decor. For now my acorn garland is simply draped with my bead garland. I am sure I will happily move my garland around over the next several months.
Now go check out all the great fall DIY inspiration!
Tammy @ Hey Fitzy | Janine @ Happy Happy Nester
Sarah @ Twelve On Main | Carolann @ Sassy Townhouse Living
Lynn @ Nourish And Nestle | Leanna @ Faeries and Fauna
Tara @ Lehman Lane | Michelle @ Our Crafty Mom
Sam @ Raggedy Bits | Amanda @ Life on the Bay Bush
Toni @ Small Home Soul | Jodie & Julie @ The Design Twins
Grab some Fall Inspiration
SaveSave
SaveSave
