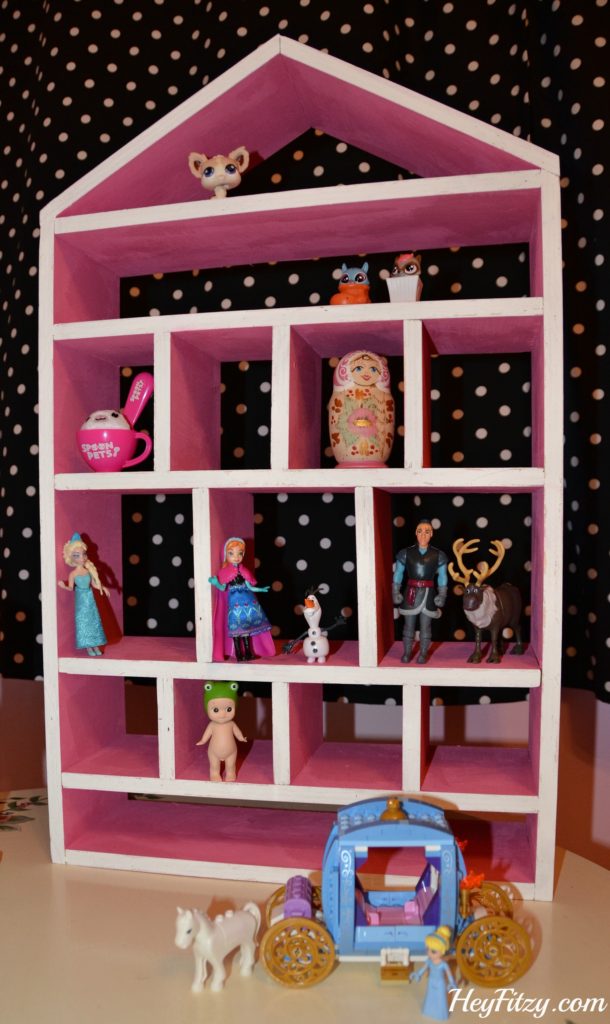
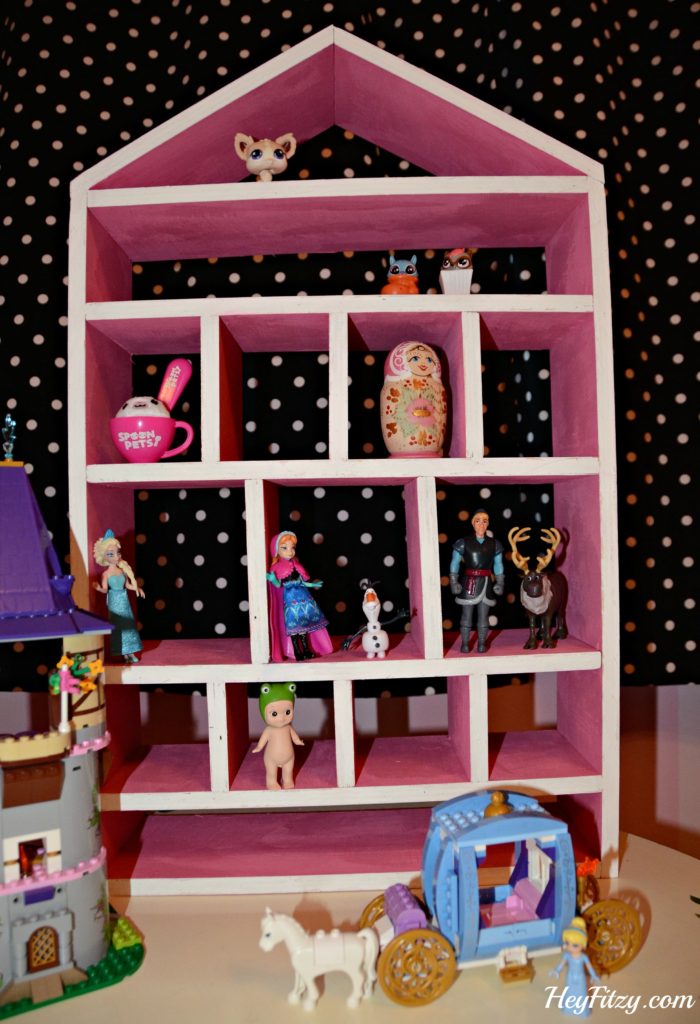
Check out this adorable DIY doll house. The perfect place for little ones to spend hours playing with their small toys and trinkets.
Our littlest miss was getting ready to turn 5. We considered for a long time what she might enjoy the most as a birthday gift. She will play for hours with her Littlest Pet Shop toys and Legos so we wanted to find a little play set or doll house that would accommodate her small toys. Watching her have a pretend play time with the kids (she calls the dolls her kids), I know that she’ll love a dolls house so much. After looking online for different play sets and/or doll house options we stumbled across this delightful doll house. Immediately we knew it would be just perfect for our littlest miss. I could already invasion her spending hours in imaginary play with her little toys.
This little house is 24 inches tall by 15 inches wide. We followed the plans available on Ana White’s website. The images were easy to understand and directions were easy to follow.
So let’s get started.
We had sanded plywood leftover from a different project so we did not have to purchase any wood for this project. Saying this though, just because we made the house from scratch, it doesn’t mean that everyone else has to, especially if the idea of DIY doesn’t sound appealing. For many people, buying kids kitchen play toys and sets is much easier than making their own. But for our first attempt, it turned out pretty good!
Materials we purchased:
Paint
Wood was cut to:
2 pieces at 19.5 inches long with 30 degree cut
2 pieces at 8 11/16 inches long with 30 degree cut
6 pieces 14 inches long with straight cut
4 pieces 4 inches long straight cut
2 pieces 5 inches long straight cut
3 piece 3 inches long straight cut
Other materials used:
2 inches nails (I used these and they worked perfectly!)
wood filler
light sanding pad
white paint
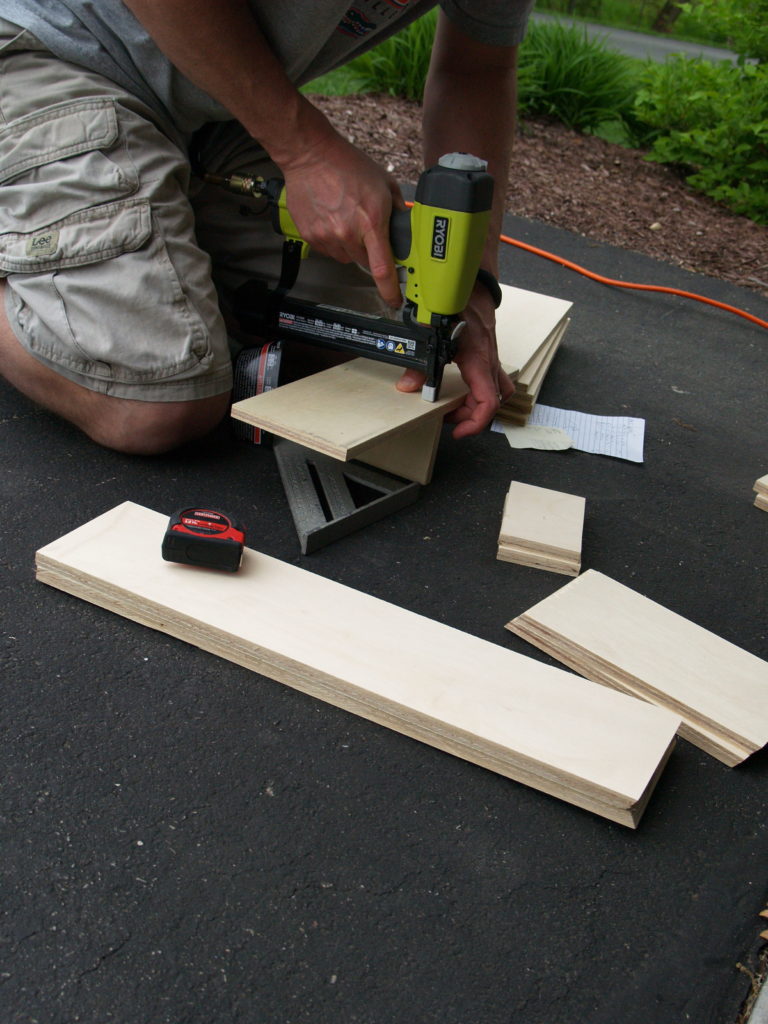
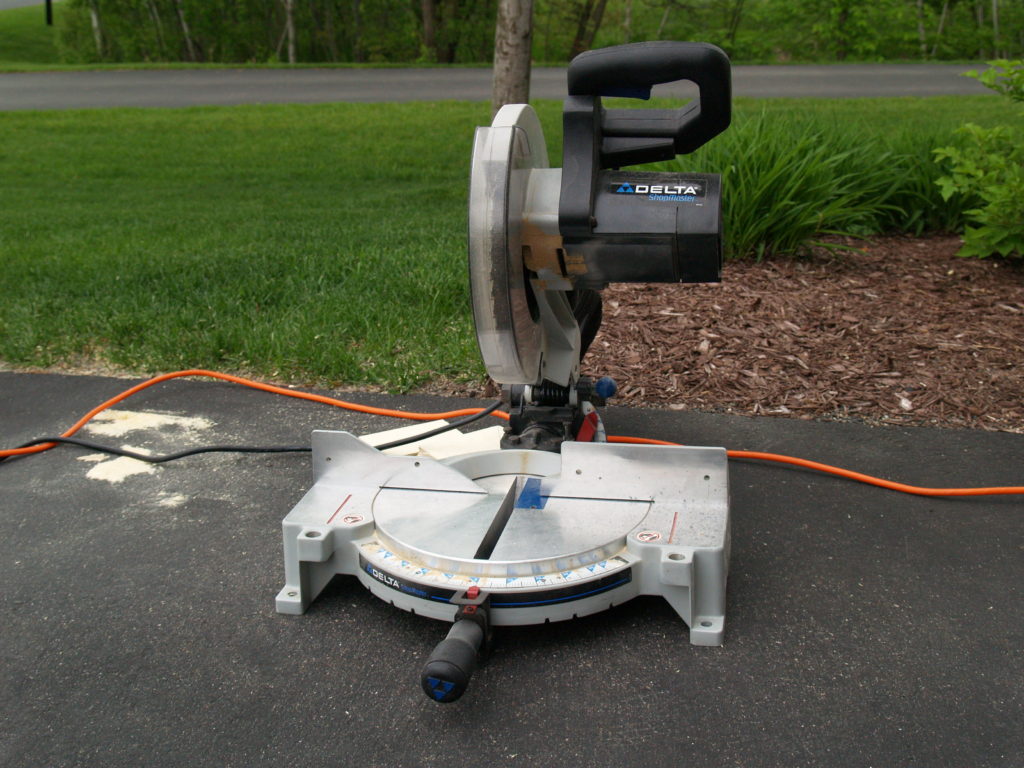 It was another beautiful weekend so we pulled the saw out into the drive way. For some reason we love to put the saws in the drive way. This is a win-win-win for us. Enjoy the beautiful weather, watch the kids play, and work on a project.
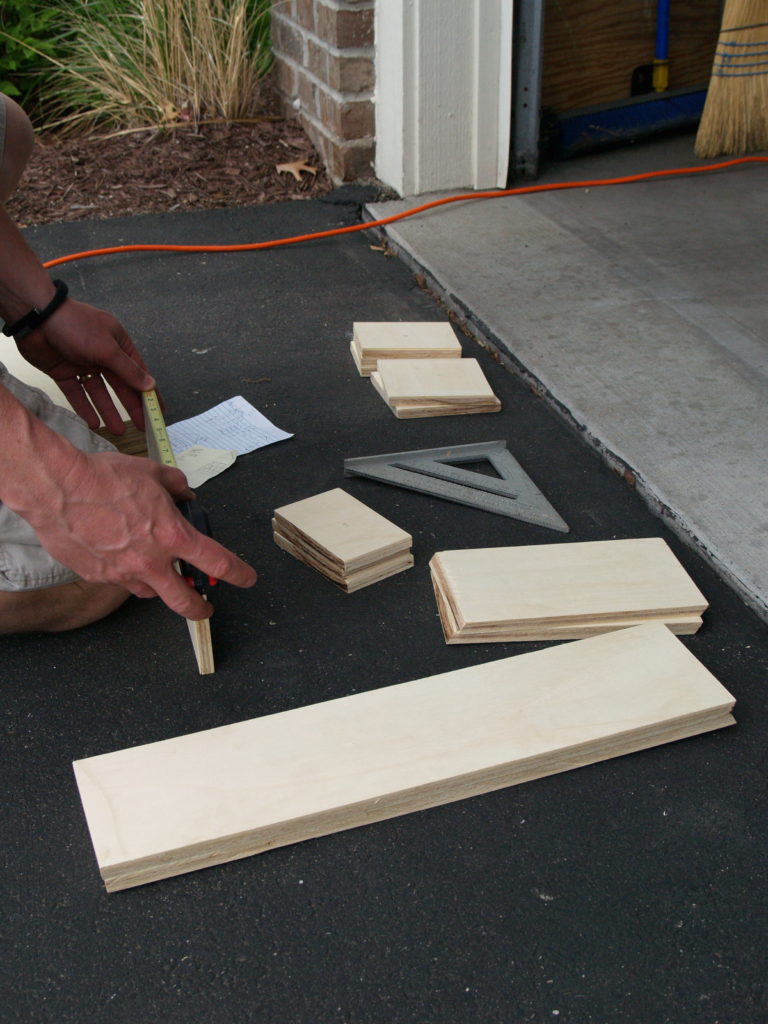 The first thing we did was cut all the pieces.
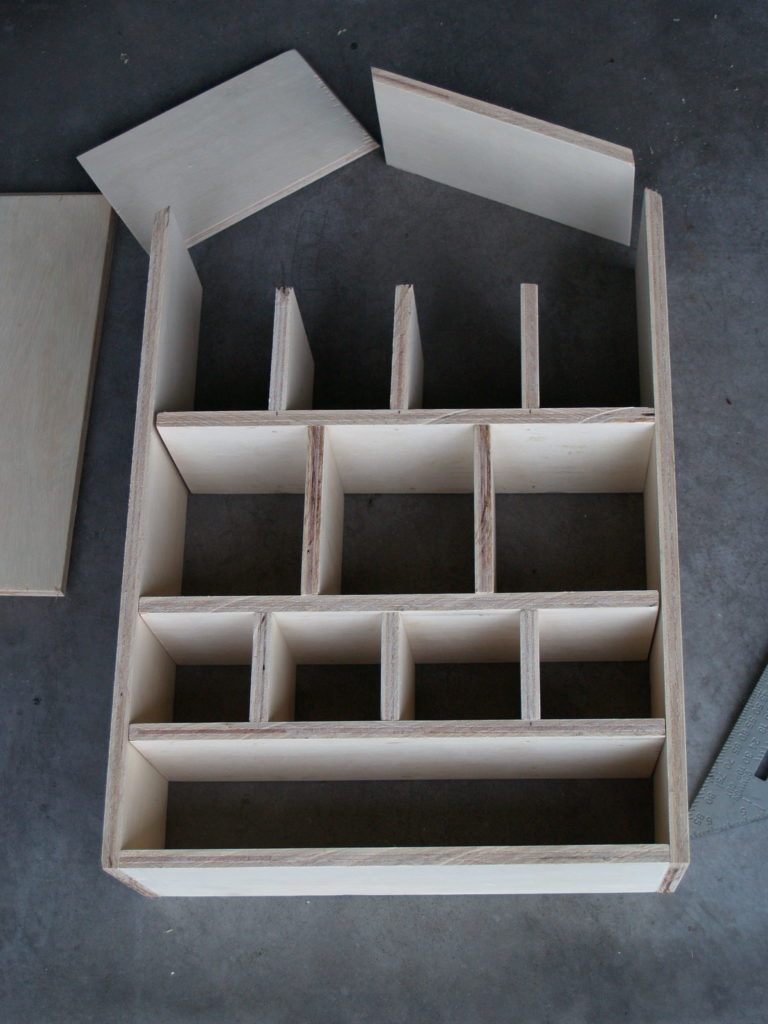
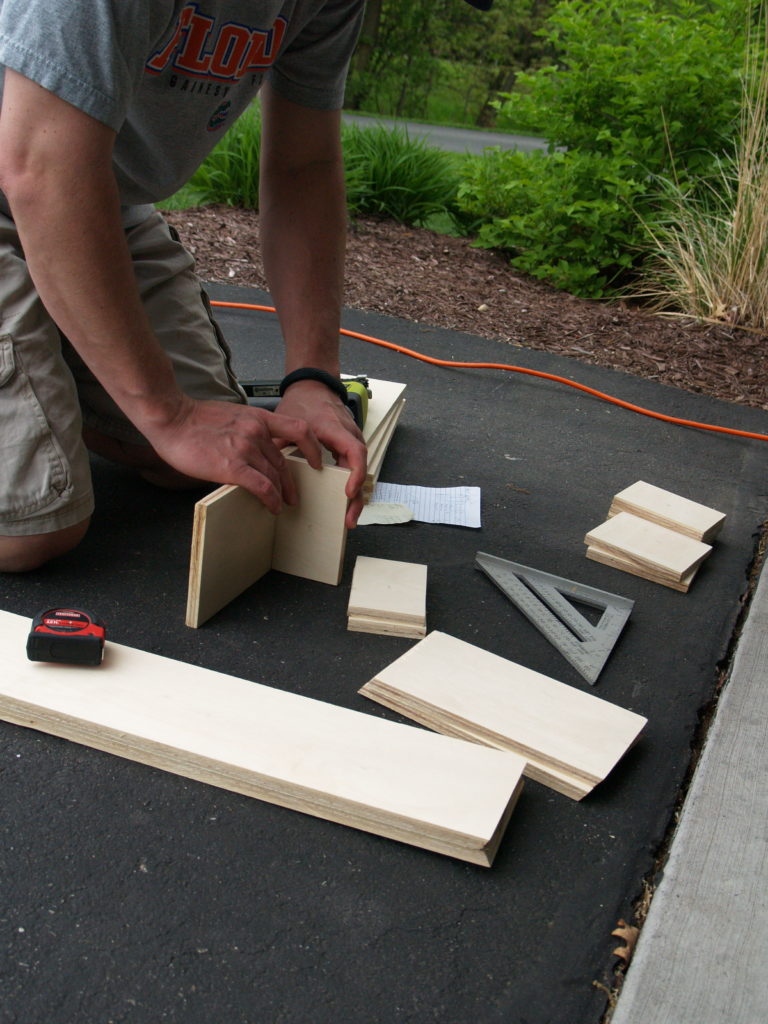 Using the nail gun we assembled each shelf by measuring the exact location for each board. The triangle was an important tool in this step to ensure each piece was square.
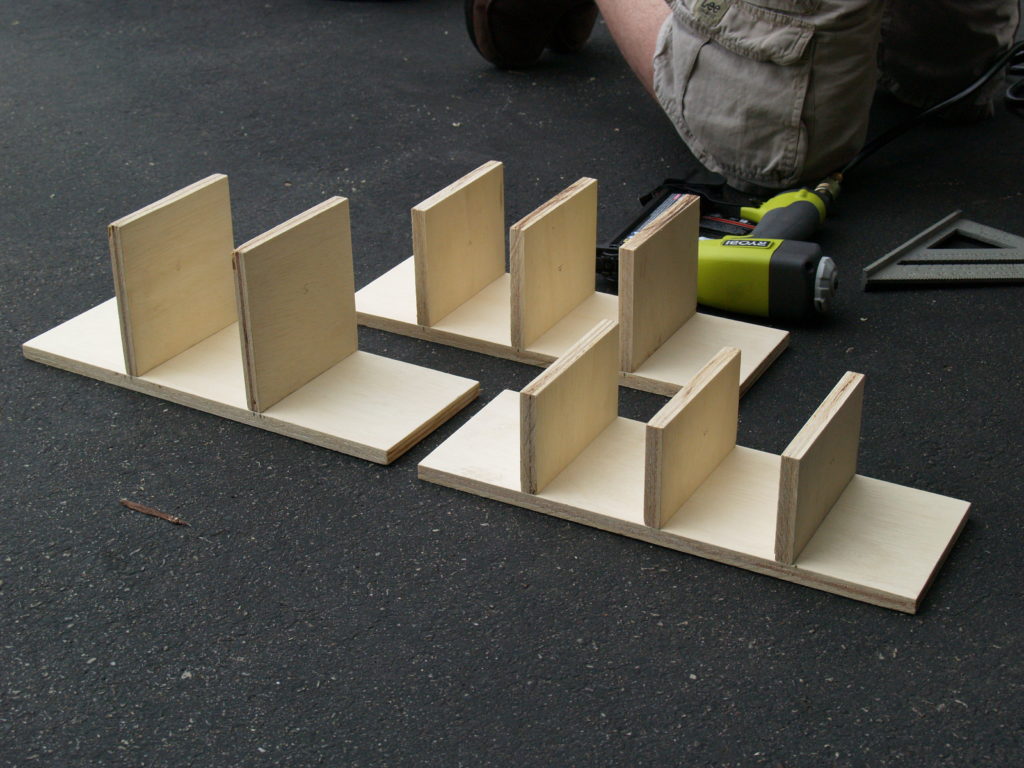 If you look closing you will see that we numbered each wood piece based on which level or floor that piece of wood would be used for. This helped ensure that we were using the correct piece and made the assembly process move quickly.
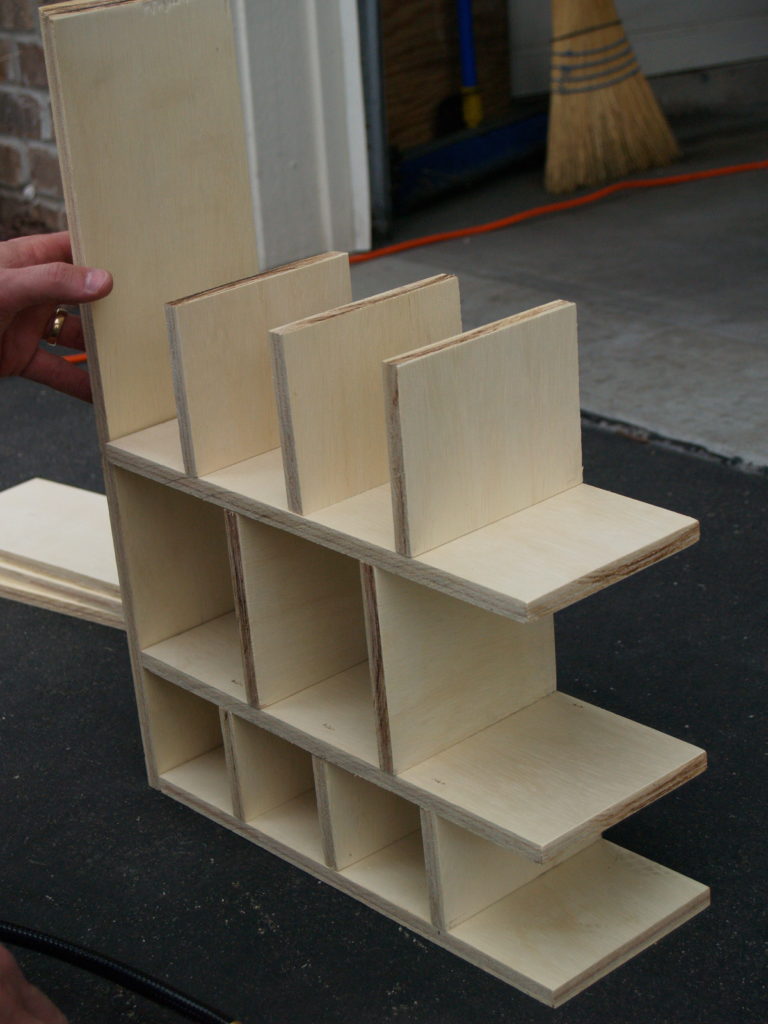 After connecting the floors we installed each side of the doll house.
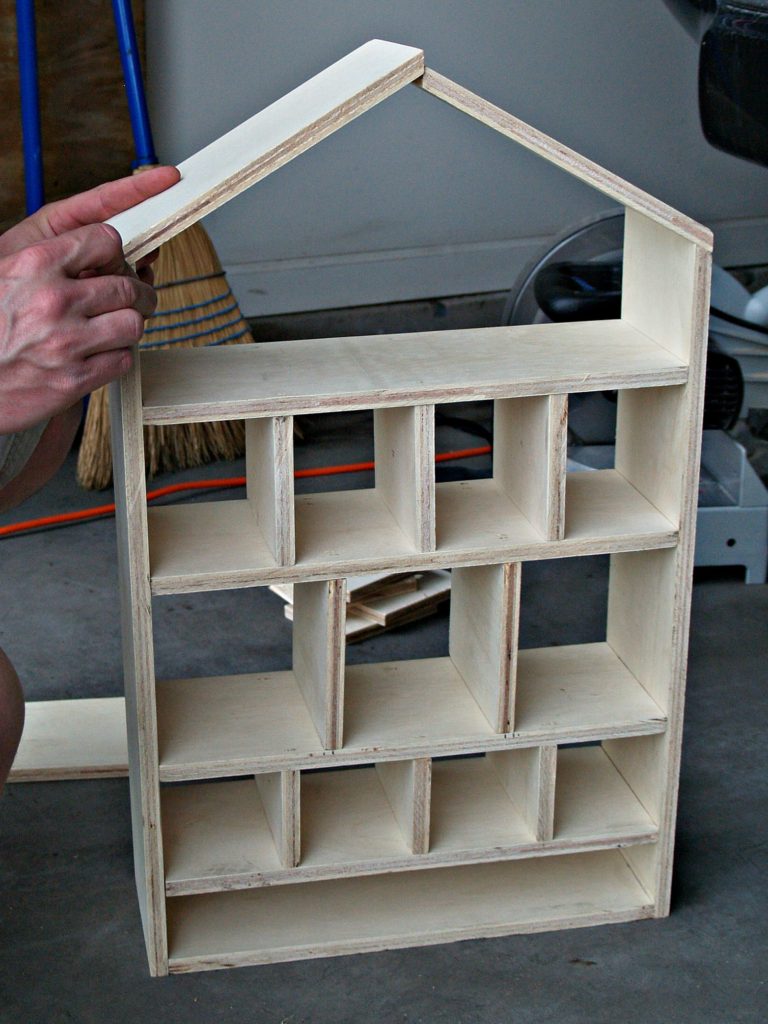 After the doll house was completed, we used wood filler to fill each nail hole. Once dried, a light sanding block was also used to soften the edges of each piece while smoothing out the wood filler.
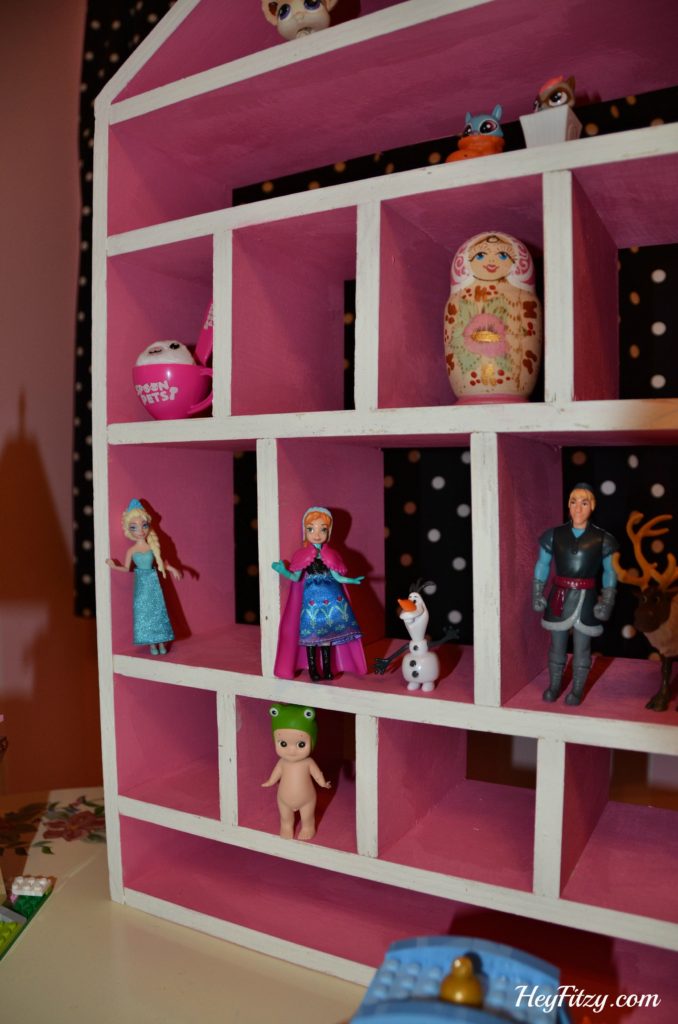
Finally it was time for the paint. I loved the colors of the original doll house and knew those colors would be perfect for our littlest miss.
I can not even tell you how delighted she is with her little doll house.
