Even with the best detailed plans, our projects tend to change and morph over time. Once we built and painted the main units I was not completely happy with the finished edge. The perfectionist in me could spot every little space and gap. It doesn’t help that our closet walls are wonky. Yes…that is an official word here! Sometimes the system set flush against the wall and other times a large gap was visible. I debated if this would really bother me be noticeable once all the clothes were in place. Growing up on the farm, my family often preached… “any thing worth doing is worth doing right.” So…that meant we were going to finish the project correctly whether it would truly be noticeable later or not.
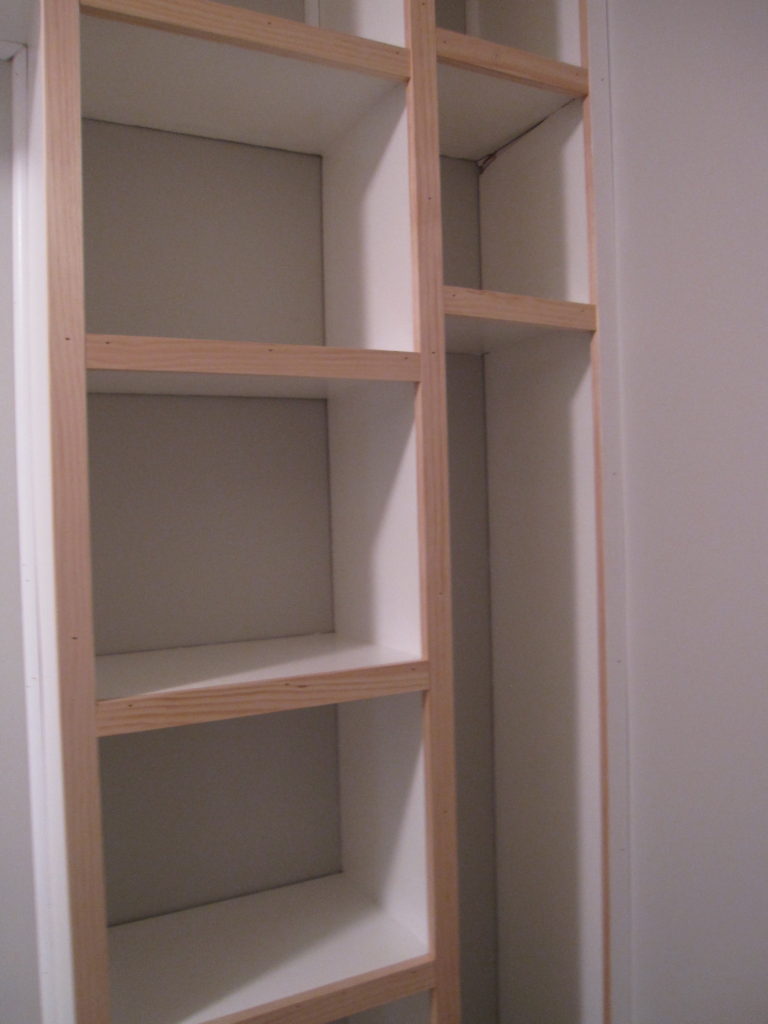
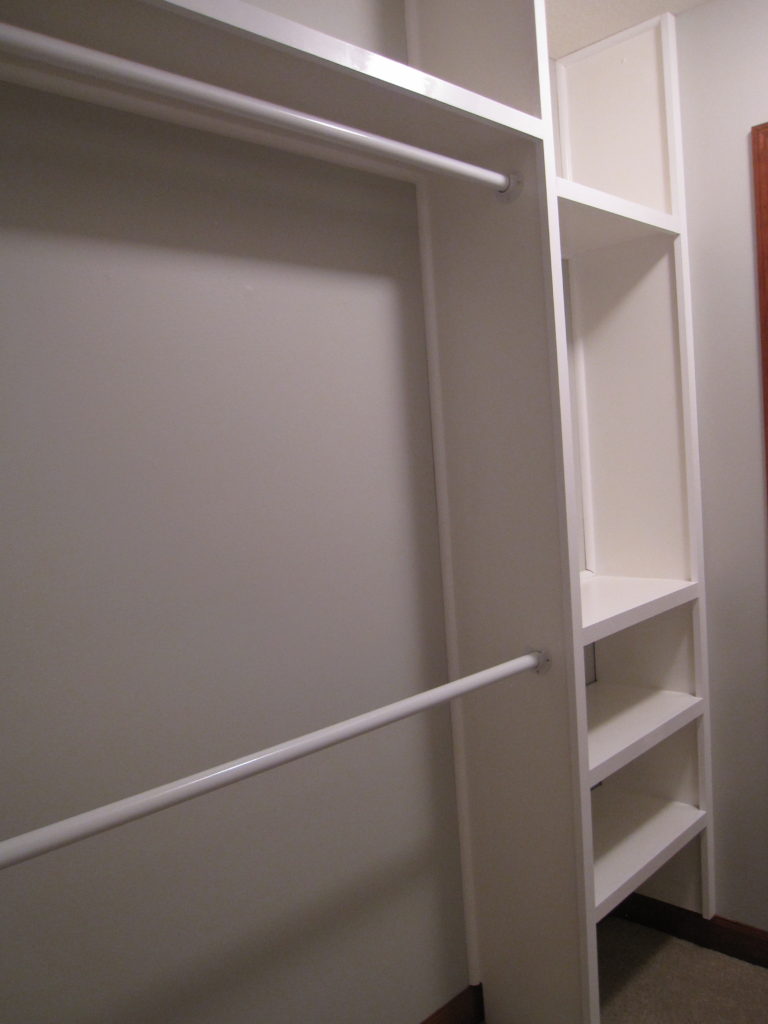
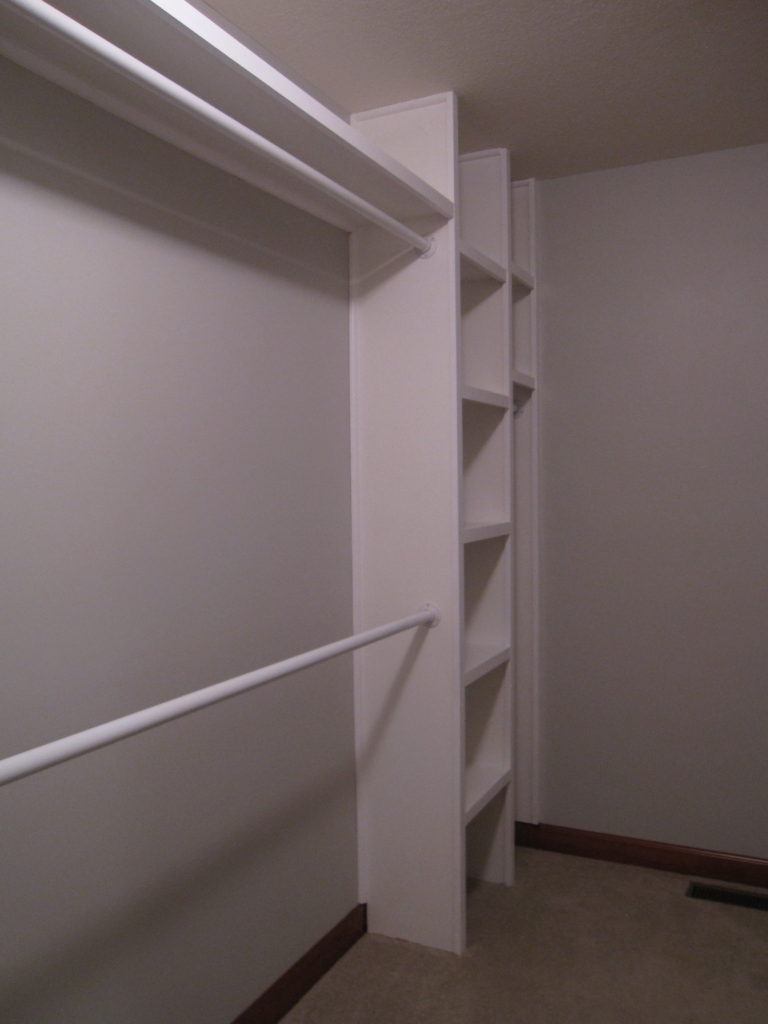
First we add a 1×2 piece of pine trim to each front. I really like the way the trim helped the unit feel more substantial. Then we added quarter round to the back edge. This did wonders to hide the wall imperfections.
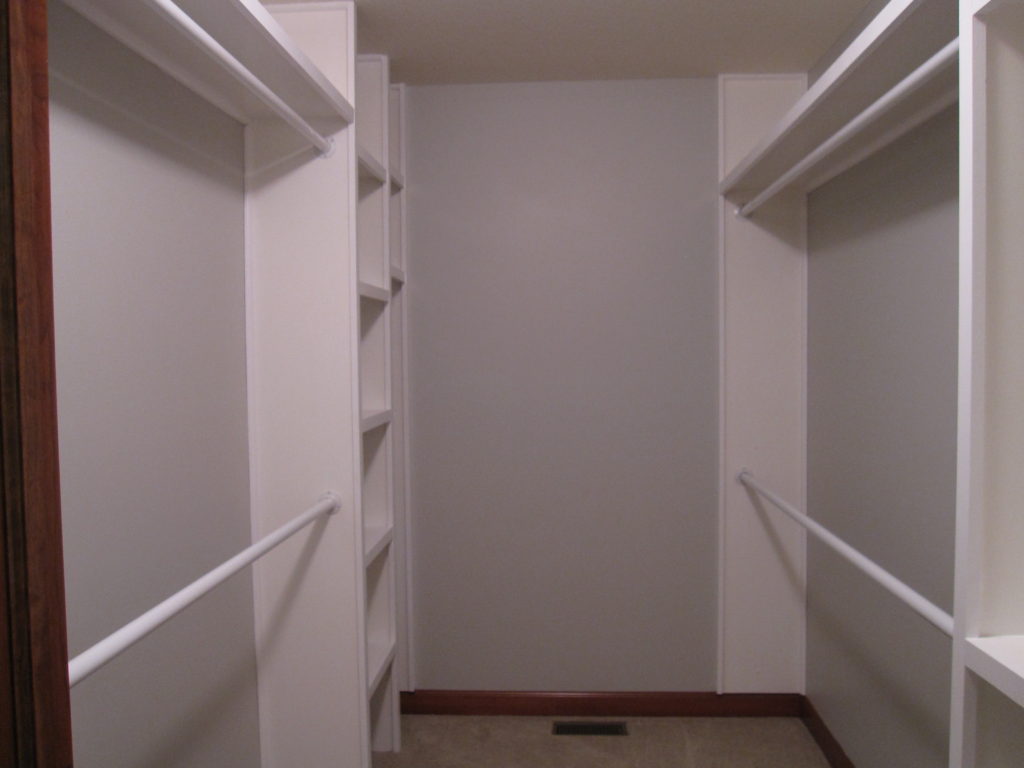
Here is HER SIDE. All trimmed and painted.
Here is HIS SIDE. All trimmed and painted.
I am starting to dream about what this closet will look like finished!!!
Thank you for following along as I work to transform our master closet from drab and messy to functional and beautiful. Check back each Thursday to see our progress.
Now that the functional part is done…let’s get to the pretty stuff! Stay tuned until next week.
Have you guys had a chance to check out the other amazing One Room Challenge participants? So much inspiration all in one place.
One Room Challenge Week-by-Week
You can follow me here:


