How To Create A Barn Wood Accent Wall
Disclosure: I received paint from Sherwin-Williams as compensation for this post. All views and opinions expressed in this post are my own and no other compensation was provided. You can read my disclosure statement.
Yay for week three of the One Room Challenge hosted by Calling It Home and boy oh boy have we been busy. Our oldest son is currently home on military leave and camping out in his younger brother’s room. Yep…I have two boys sharing the exact space I am trying to renovate for the One Room Challenge. Can you say chaos!!! I keep kicking the poor boys out of their room while I work on the next phase of the project. Thankfully we made some serious progress so the beds could be moved back in for now. Nothing like renovating a space while working around luggage and air beds. But let’s be honest…the fact that my oldest son is finally home on military leave is like a dream come true for this momma. It has been 16 long months since he was stateside and we have been able to see him!
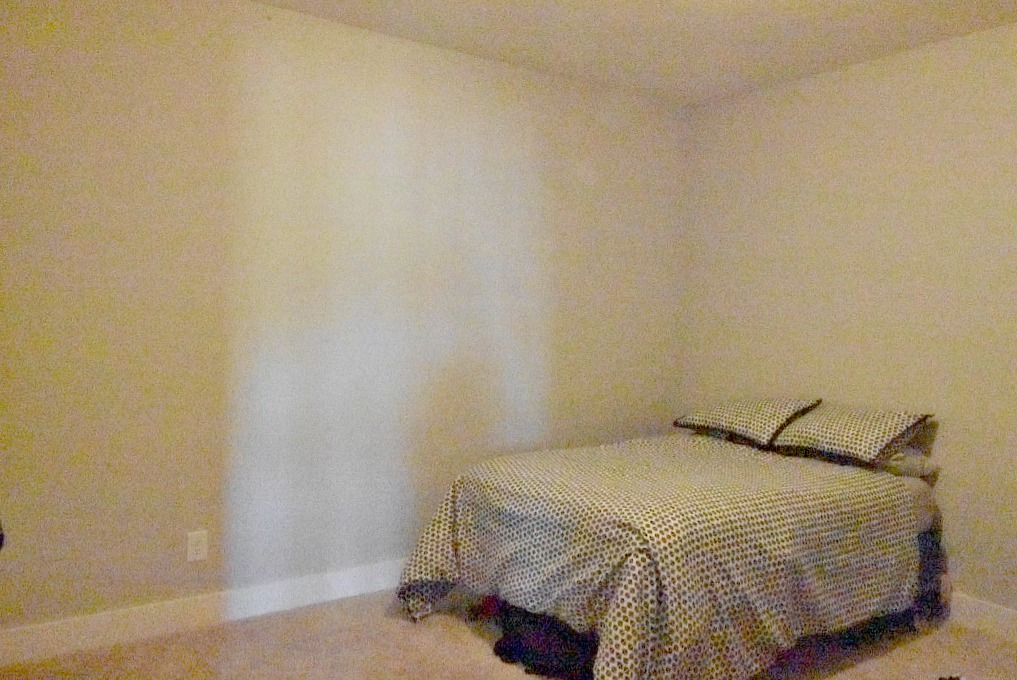
Want to see the cool update? Let’s start with the scary before photo! Remember we moved into our home just three and a half months ago and this room was entirely a blank slate.
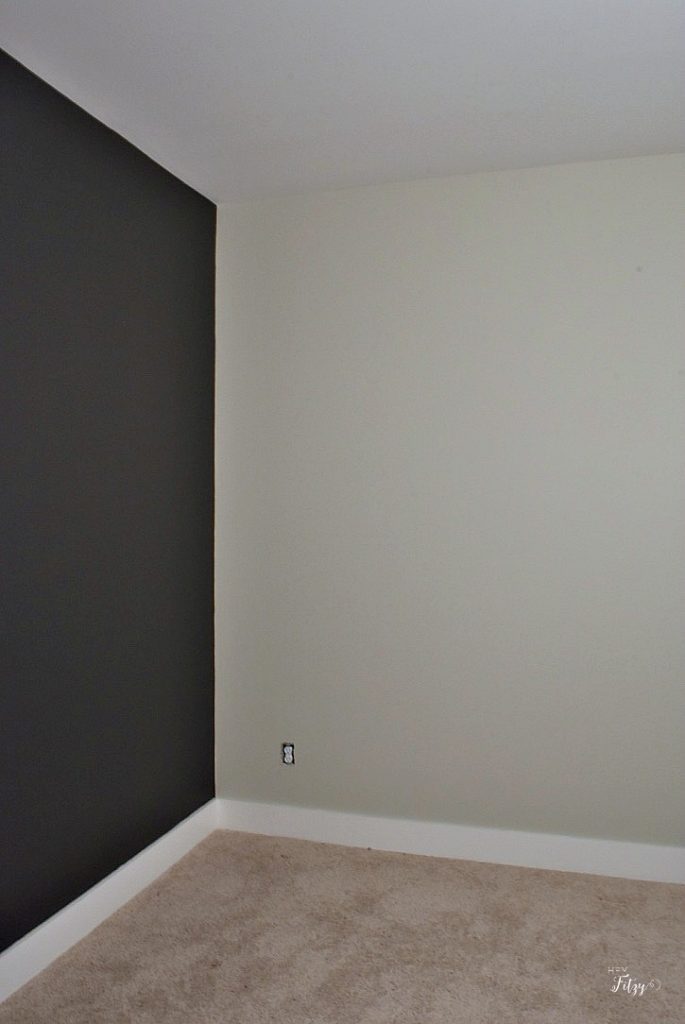
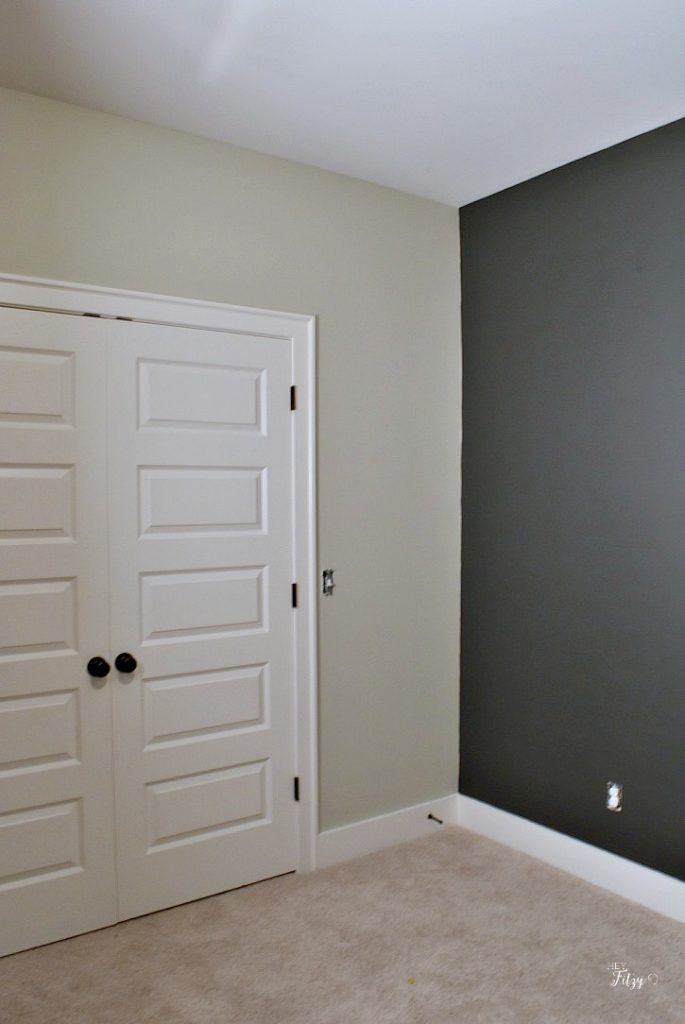
We started by painting the walls. I selected two colors for this room. The main color selection was Repose Gray by Sherwin-Williams. This is a beautiful gray that stays a true gray. This particular color has a high light reflective value that was important for this room with limited natural light. With only one small window, I wanted to select a main color that would brighten the space. This was also important as I prepared for a dark accent wall. As well as brightening the room through the colours of the walls, I considered installing DaLyte Skylights to add a lot more natural light and a high-end style.
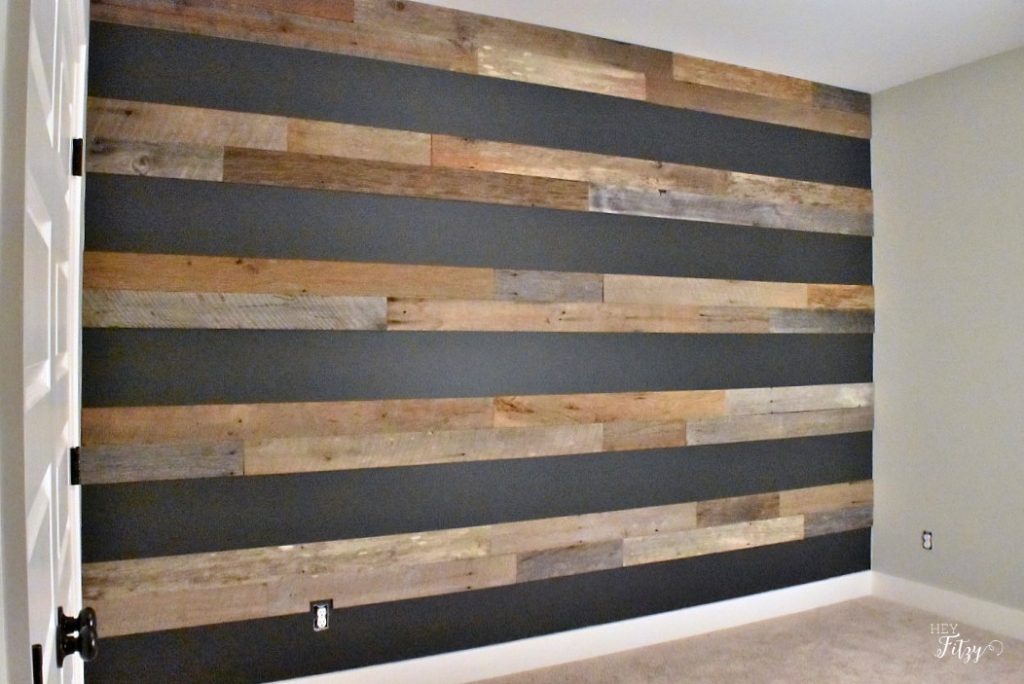
The accent wall for this room is Iron Ore by Sherwin-Williams. Is it strange to say this color was love at first sight for me! I wanted something that would be dramatic and really stand out behind the mixed colors of the barn wood accent wall.
When it comes to transforming a space, we like to save money by painting the space ourselves. That way we can spend more on exciting furniture and unique lighting like a barn light. Let’s just say we have done a lot of painting over the years. Basically every room in our first four houses was painted AT LEAST once by yours truly. Except for that one time we had a two story foyer (no way momma was getting up that high!). Now that we moved into house number five I have a lot more painting to do.
Here are my 7 painting tips to make the project go a little easier!
7 Tips for Painting Success
- Remove or cover all furniture in the room. I don’t know about you but it is so hard for me to work around piles of mess when painting. After I clean out the room it feels like the project goes much faster.
- Put a drop cloth down. No matter how careful I try to be…we always end up with a few drops of paint here and there. So much easier to clean up when it lands on a drop cloth.
- Check your walls for nail holes, cracks, and/or dents. Even with a newer home, we had to fix several areas where the dry wall nails have popped out. We also found several little imperfections that were easy to fix with a little wall paste.
- Use a fine grit sanding block to smooth any areas you just repaired as well as any unusual markings that may be sticking out from the surface of the wall. We found several little bumps that needed attention.
- With a damp cloth, wipe off any dirt or debris that may be on the wall.
- Whip off the baseboards and window ledges. I like to clean the baseboards and above the door frames before painting. It creates a cleaner surface so I don’t have to worry about getting dust and dirt in my paint brush.
- Open a window. This will help to ensure you have good ventilation while you work.
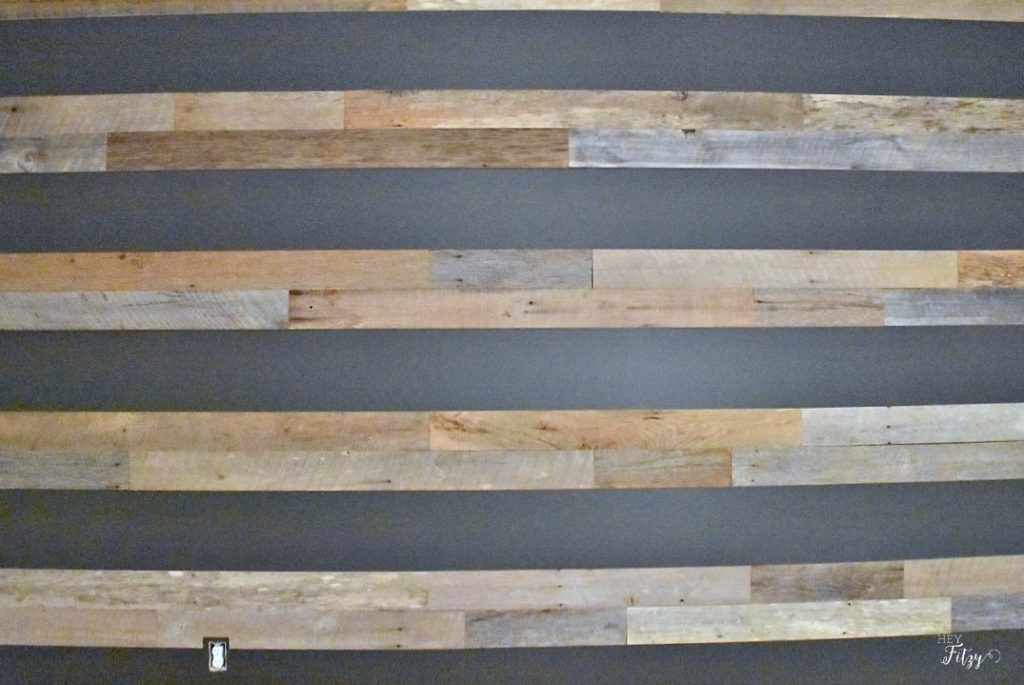
After the painting was done we started on the dramatic barn wood accent wall. Thankfully we found a great warehouse in our local Nashville area that sells barn wood. By simply taking the measurements for our wall, they were able to help us determine exactly how much barn wood would be needed. The poor guy may have thought I was a little crazy when I told him I wanted to create stripes and only cover half the wall. I believe his response was something along the lines of “people don’t normally do it that way!” You can only imagine my giggle in response. I may have said “Why would I ever want to do something the normal way.” 🙂
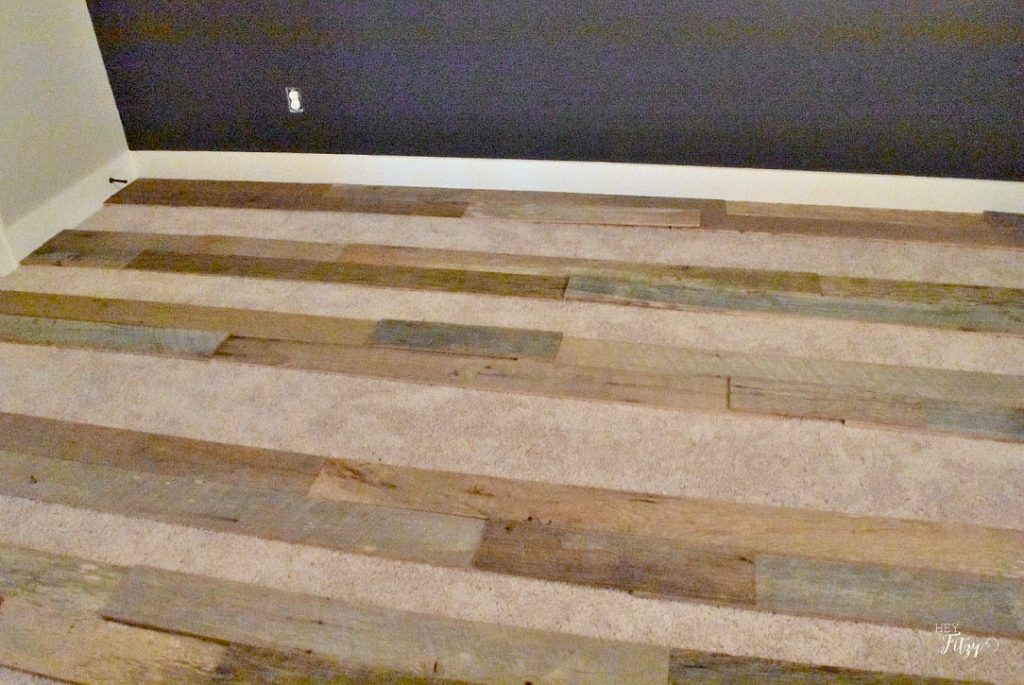
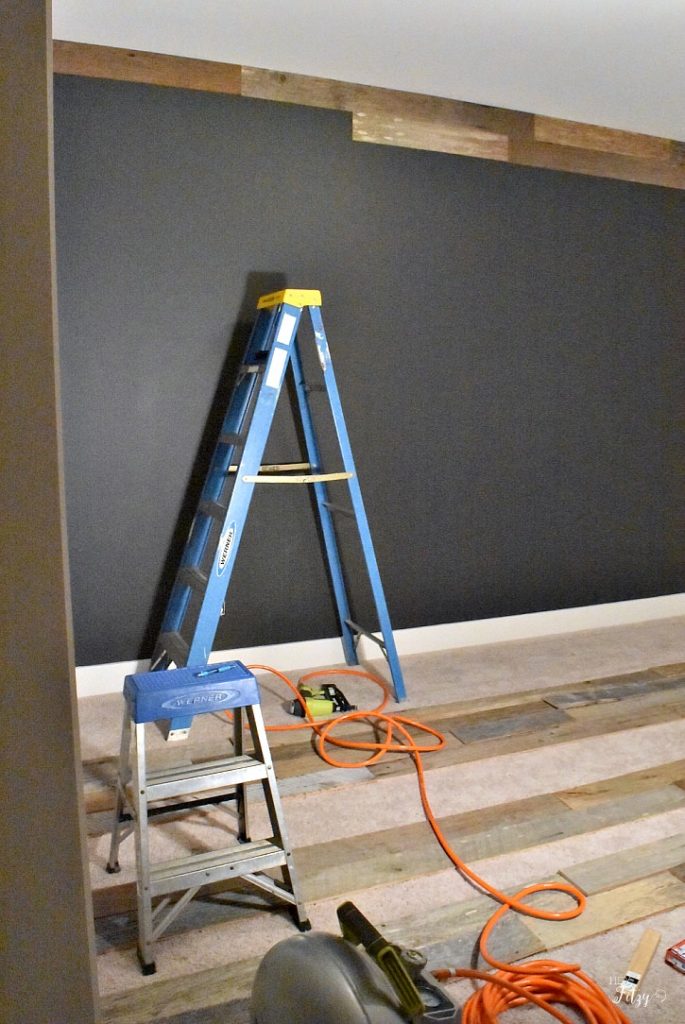
I was a little nervous about the variations in each selected piece. While I loved the beauty of each and every piece, I wanted to make sure they flowed beautifully together. It was a slight labor of love to gently place each piece on the floor of the room to see how they fit together. This really didn’t take very long but helped assure me before placing each piece to the wall.
We started at the top and basically worked our way down. With a stud finder and a nail gun, it really was a breeze to place each piece.
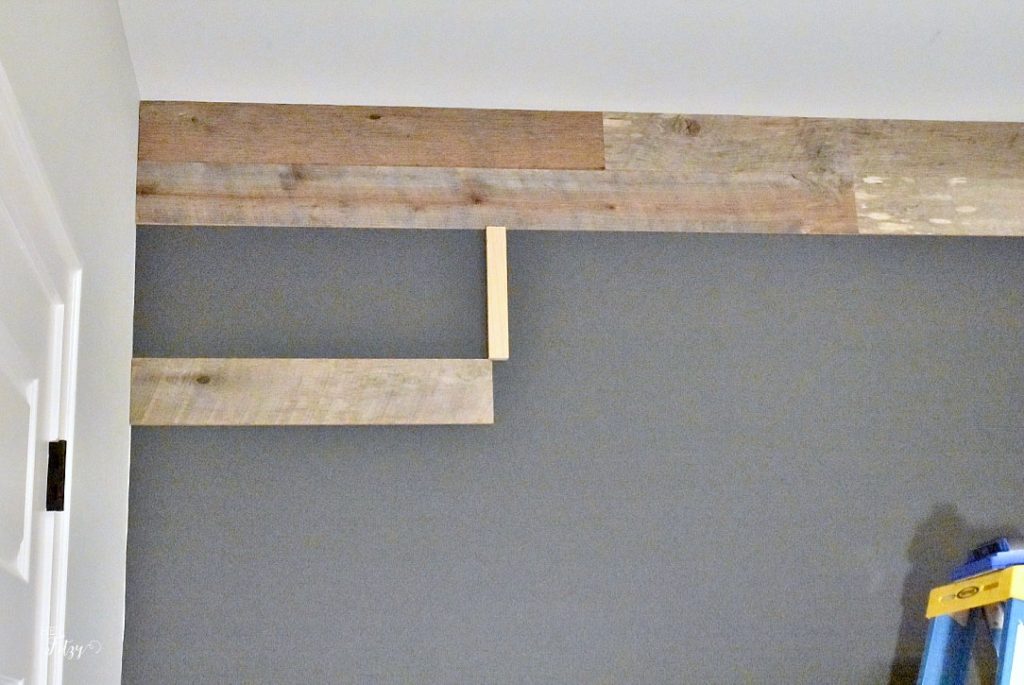
We created a measuring board that helped us keep our lines straight as we placed each new row. We slid this measuring board along as we worked to place each piece just right. Normally we just held the measuring board in place but wedged it between the rows only to take this picture for you.
We had to make a few cuts to accommodate the different boards and wall length. With just one outlet on the entire wall, a few extra cuts were needed.
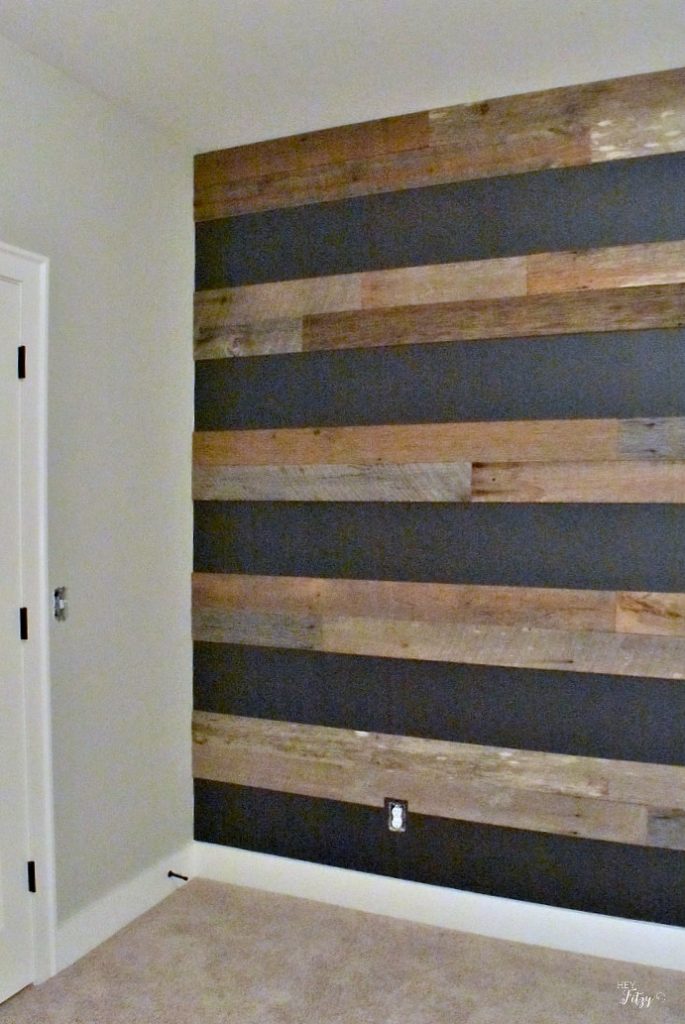
Here is a peak at the barn wood accent wall edge. I think it turned out beautifully.
I really love the way this barn wood accent wall turned out. It really created a dramatic feature that transformed this space. Now I can’t wait to get started on the rest of the room.
Elsewhere in our home we’re currently thinking about having an extension. One of our friends lives in Germany and has been on a home improvement mission for some time now.
She recently enlisted the help of contractors Kubau-Kiel and from what I can see from the photos I’ve seen, they’ve done a fantastic job. There’s no shame in seeking a little outside help when it comes to jobs where DIY simply won’t suffice!
Thank you to Sherwin-Williams for providing the paint for this stunning wall transformation.
Here are links to my other One Room Challenges. Our master closet and our pantry.
