Industrial Pipe Shelf
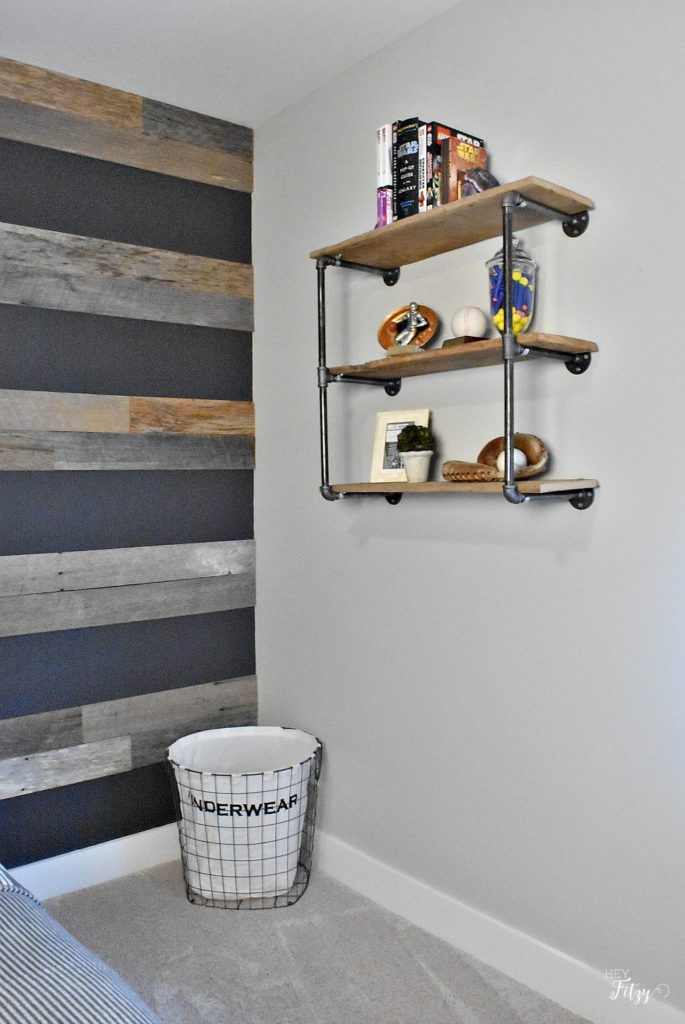
This week I am creating an industrial pipe shelf for my son’s teenage retreat. We are in the final weeks of the One Room Challenge hosted by Calling It Home . It has been a long few weeks as we work to put the finishing touches on our teenage son’s room. Next week I will be posting the final reveal and can’t wait to give you a tour!
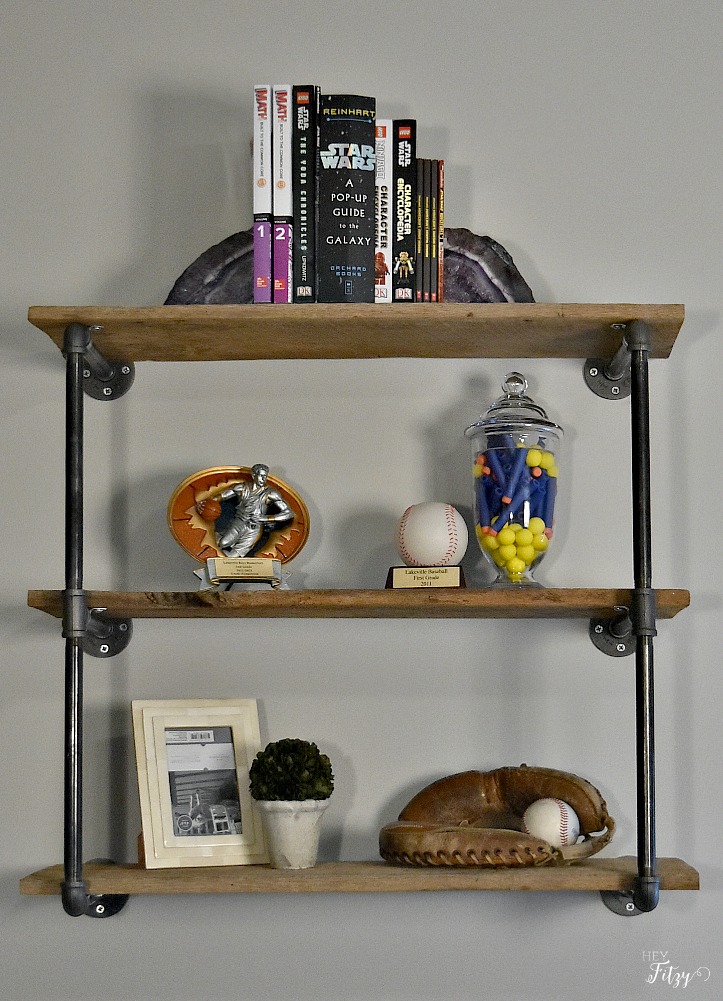
For this project I wanted to create a simple shelf where our son could place some of his treasures while also creating some visual interest next to our barn wood wall. But first, I would need to stock up on various construction tools, since I basically had nothing important that would be required for this project. We had to look for wooden planks, the best stud finder we could find, along with screws and hammers and other basic tools required for constructing anything. With a quick trip to the local hardware store, we were able to find just what we needed. To be fully prepared, we also decided to pick up some Seamless Fittings just in case.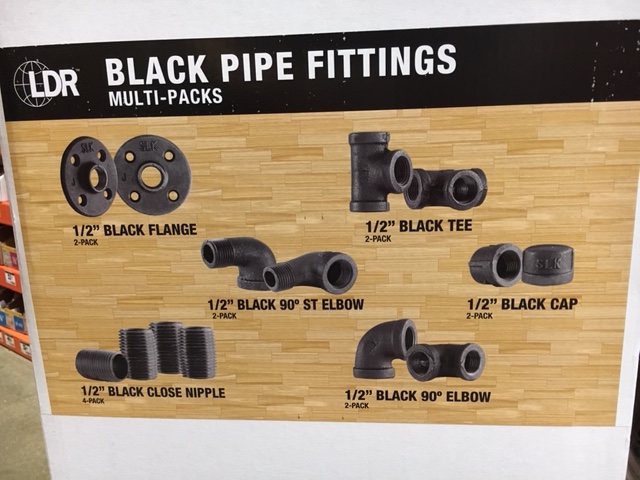
I knew we needed to create two brackets to hold each wood shelf. We were lucky to have some barn wood left over from the wall and were able to cut it down to the perfect size. Our shelves are 30 inches long.
Black pipe fittings were sold in multi-packs in the 1/2″ inch size. The fittings are sold in various sizings but we determined the 1/2″ inch size would be a nice proportion for the overall size of the shelf.
Supplies List
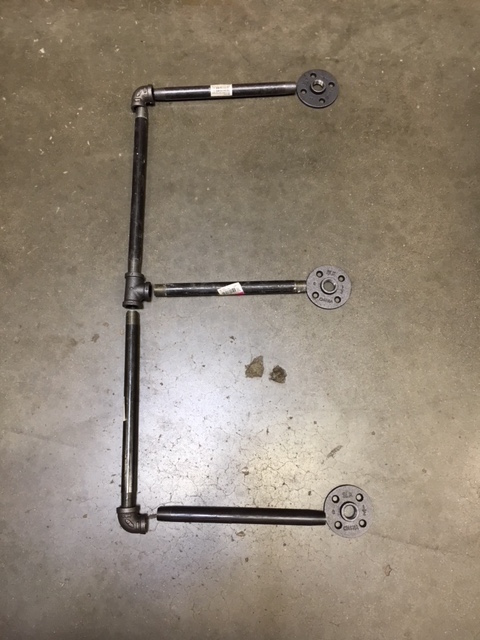
- 6- Flange
- 4- Elbow
- 2- Tee
- 4- 12 inch rods- used to create space between each shelf
- 6- 10 inch rods- used for support of each shelf
- 3 boards – ours are approximately 30 inches each
- screws
- 6- conduit fittings- used 2 to hold each shelf in place
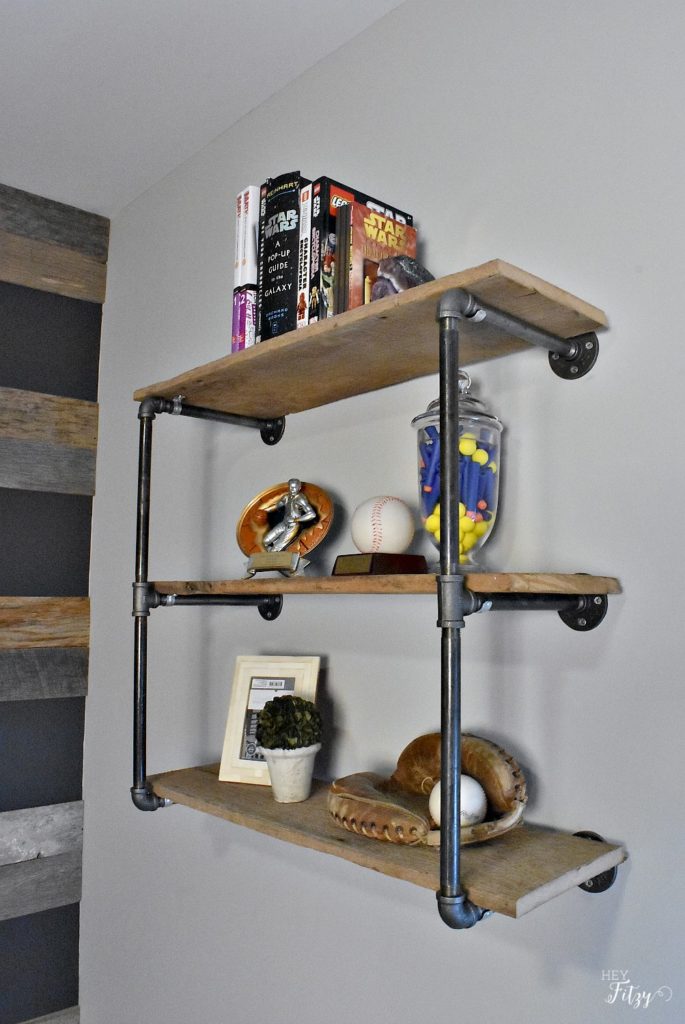
Literally, this project was so easy. All the pieces were simply screwed together. After finding appropriate wall studs, we used screws to attach each flange directly to the wall. Part of me wishes we hadn’t used silver screws because they don’t quite match, so I might swap them for some Bronze Machine Screws at some point to really play into the industrial aesthetic. For now it works though! Then the wood was put in place. We decided to add the conduit fittings on the underside of each shelf to provide additional stability so the shelves wouldn’t move.
I love the way this simple industrial pipe shelf fits into our son’s new space. It was an easy addition that really improves the character of the room. However, we needed a few essential tools and equipment to make it work, for instance, an electrical drill to screw the shelf to the wall, a screwdriver, and something like a mini stair ladder with a platform to work comfortably without worrying about falling. And no… I haven’t added a picture to the picture frame yet. 🙂
Don’t forget to check back next week for the final reveal of our teenage son’s room for the One Room Challenge. I am so excited to finally reveal this space!
